
How To Install Shower Drains & Grates
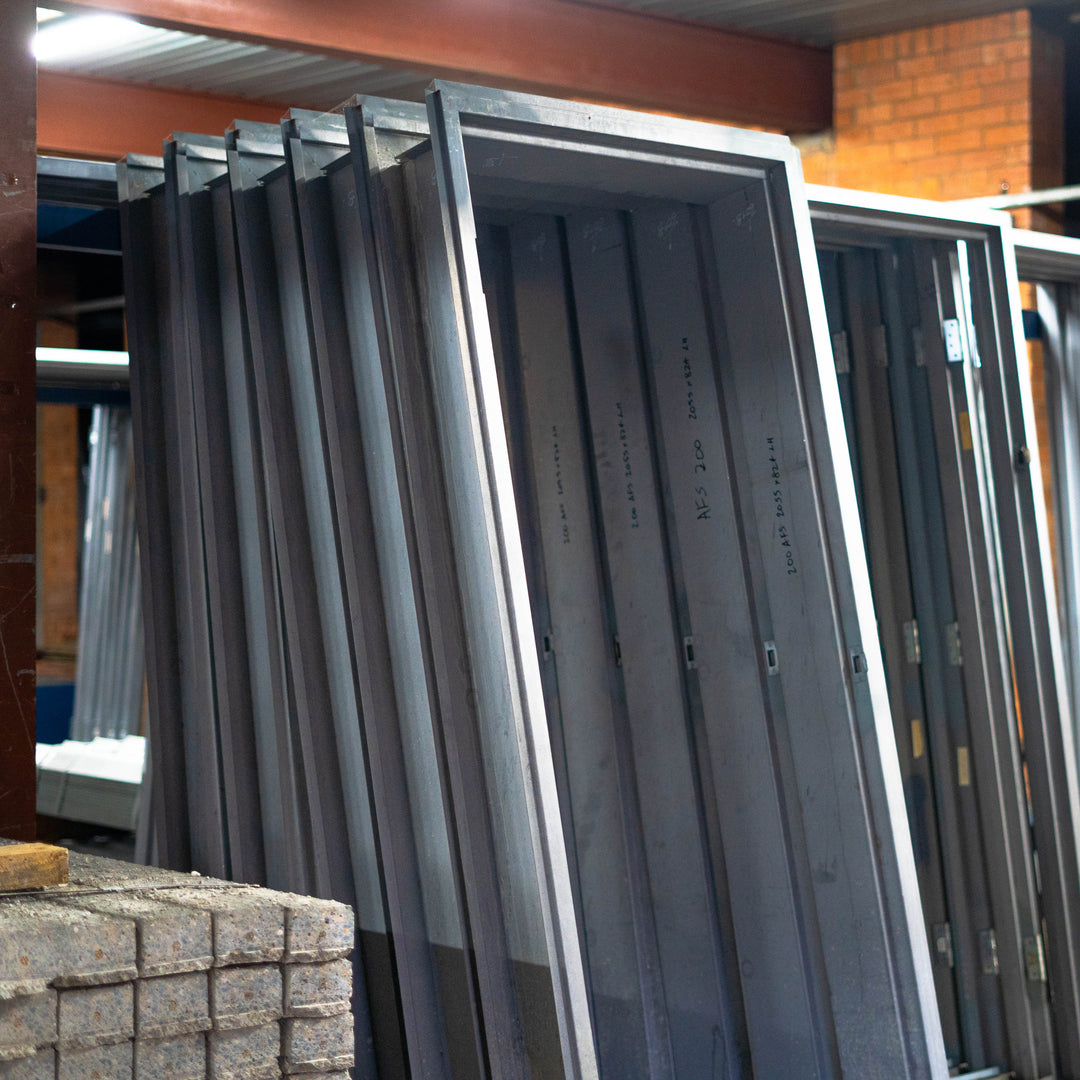
Linear shower drains and floor wastes are standard components in practically every modern bathroom. From remodelled homes to entirely new builds, you’ll find these stylish internal drains and grate options directing water from the floor of your shower to the wastewater outlet below.
However, there’s more to these drains than just a hole in the floor. Installing a shower drain and grate can be a great DIY project with the right tools and knowledge. But don't hesitate to hire a professional if you're uncomfortable with the installation process. They’ll even help you choose the appropriate drain and grate combination for your bathroom and shower.
Or you can head to our Grate Configurator, and we’ll find something from our range that best suits your requirements.
Choose the Right Drain and Grate
Before installing the shower drain and grate, choose the right one to suit your shower and bathroom. Some decisions are based on aesthetics, while others are restricted by your bathroom's orientation or the shower's size. The location of your wastewater outlet will also determine how you will install the drain and what plumbing is required to make a connection.
If you haven’t already read our article on shower grates and drains on our DIY & Home Improvement Blog, we’ll give you a quick overview of what we have in stock below.
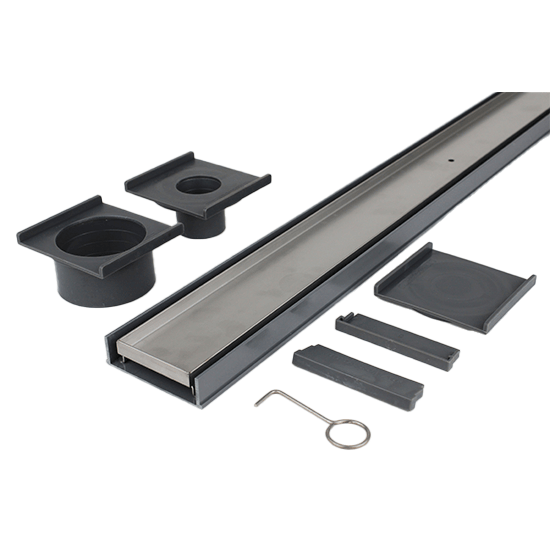
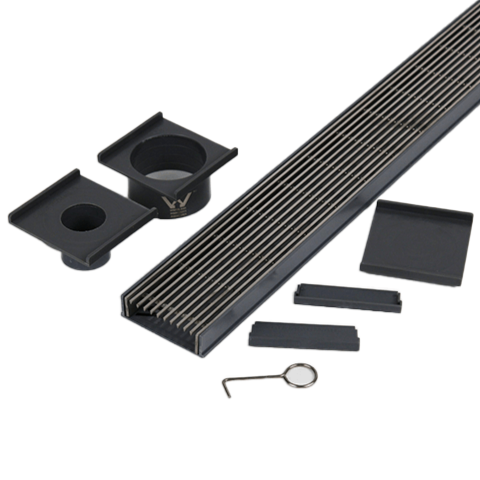
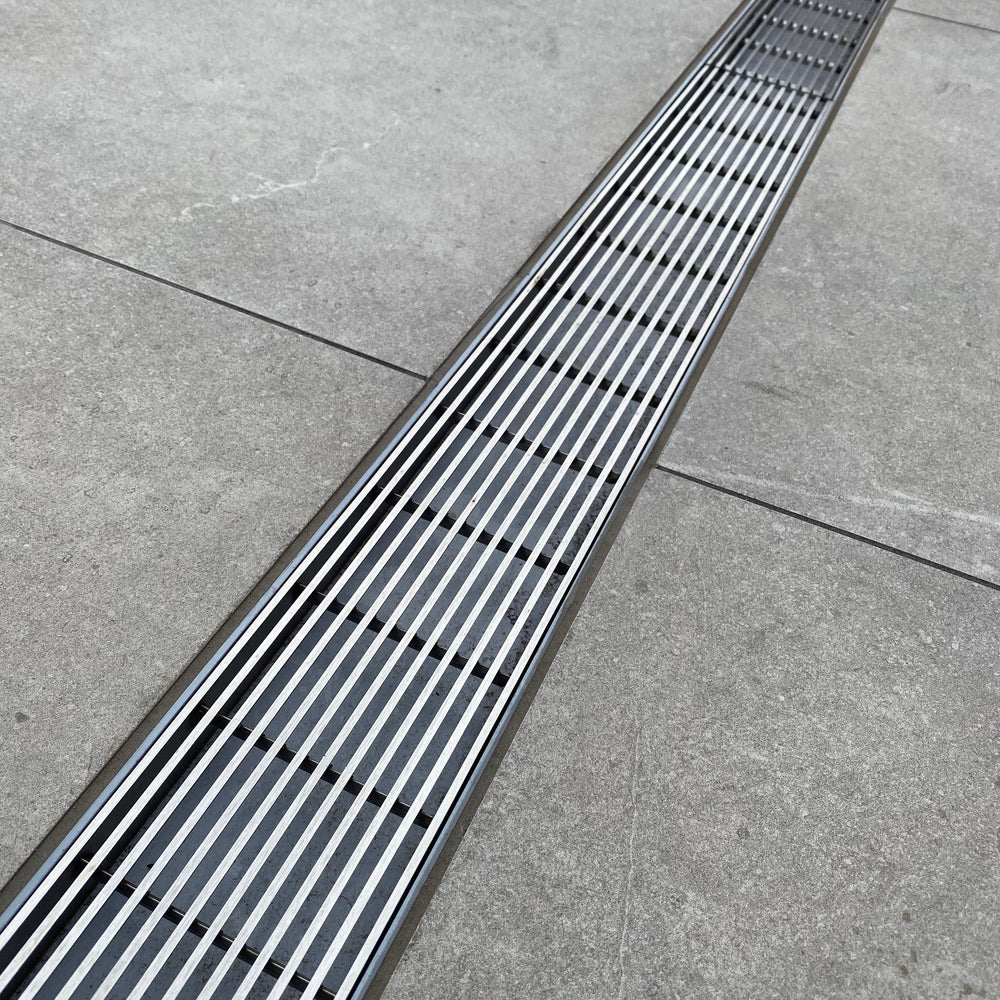
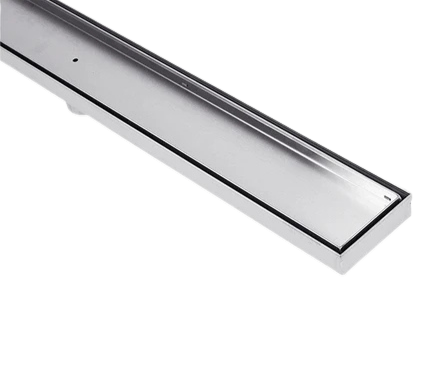
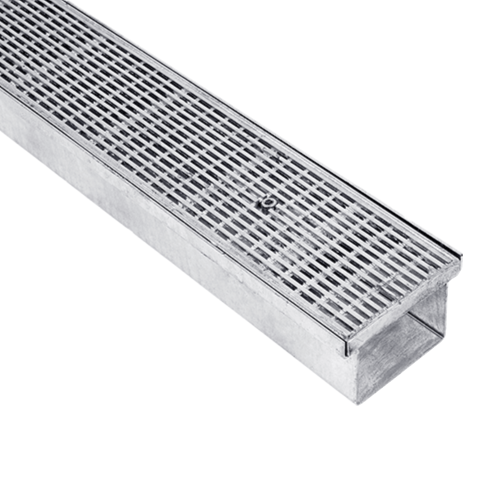
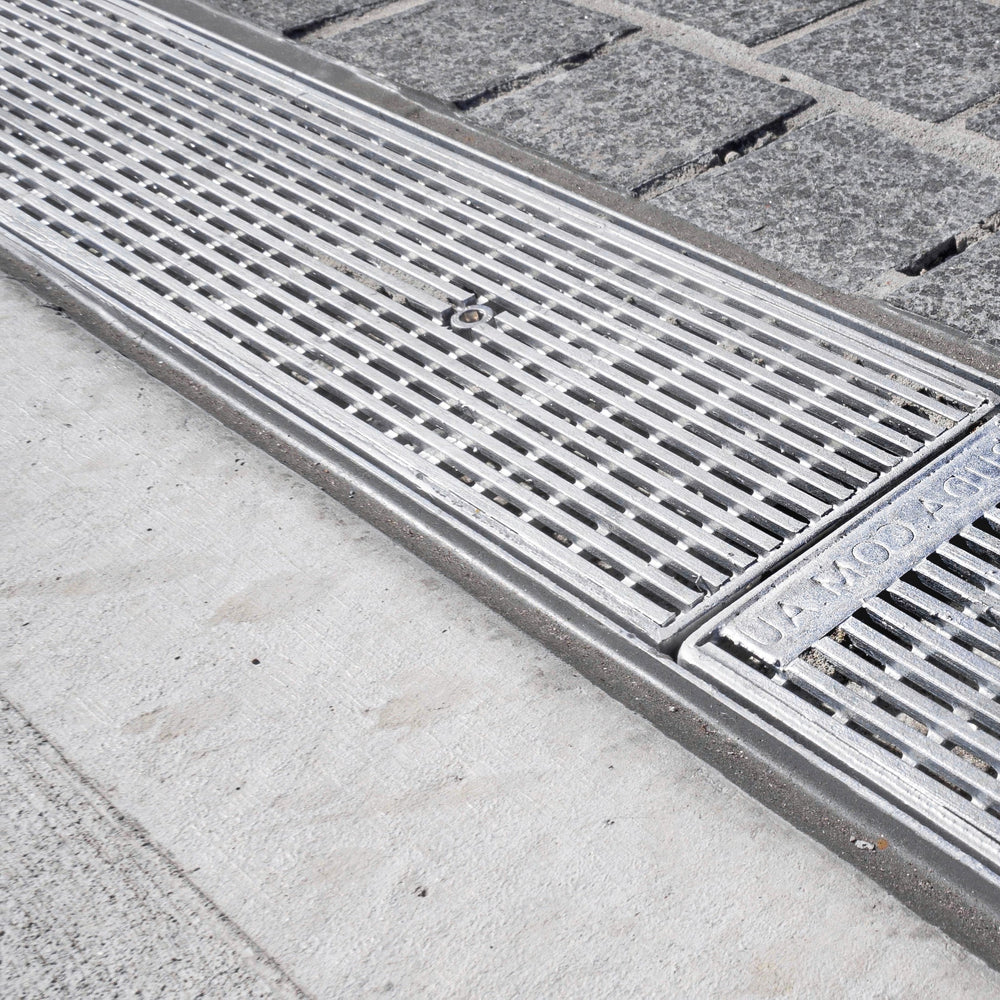
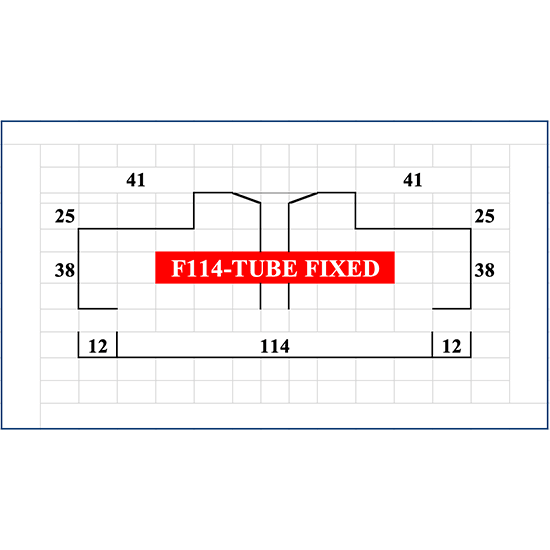
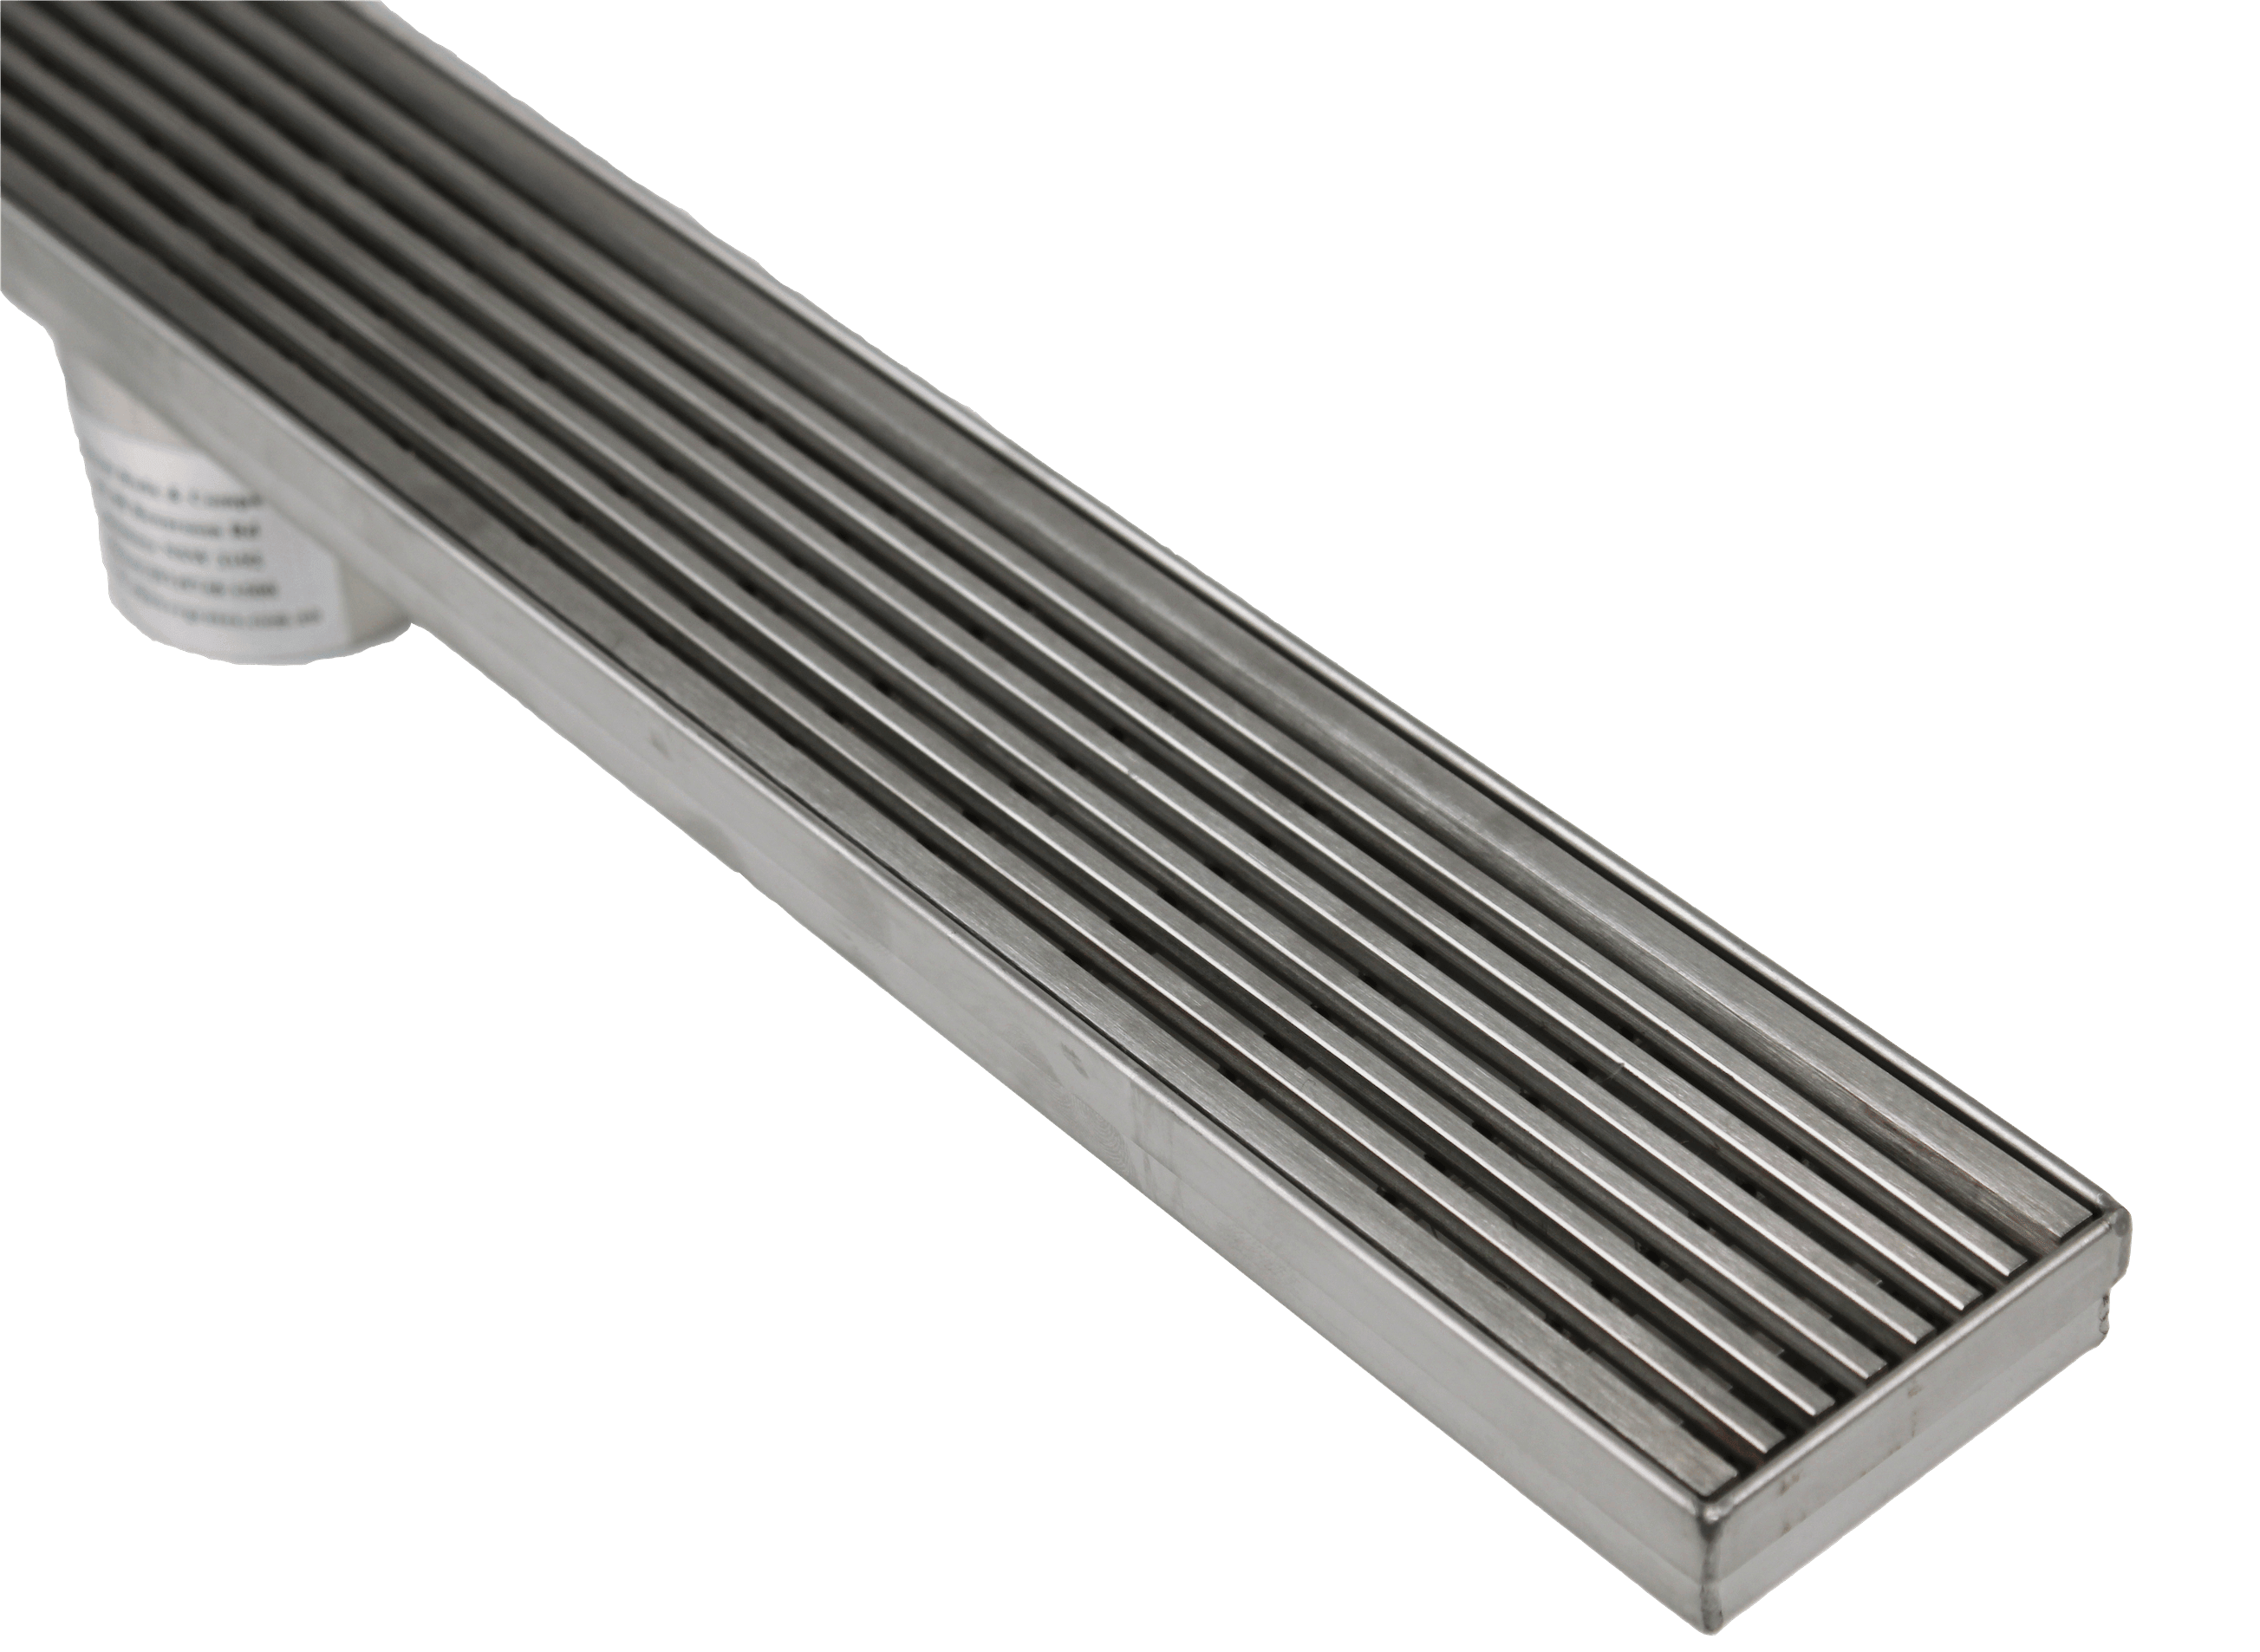
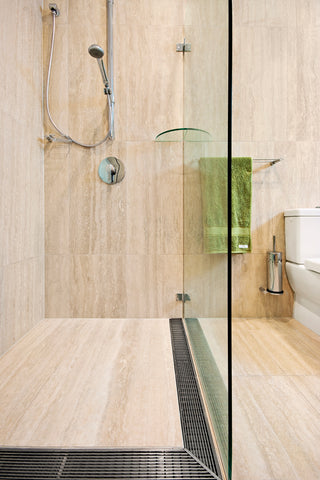
Linear Shower Drains: Narrow, rectangular-shaped drains, typically installed along the edge of your shower or straight through the middle.

Corner/ Right Angle Drains: Two linear drains fused together at a right angle to fit into the corner of a shower.

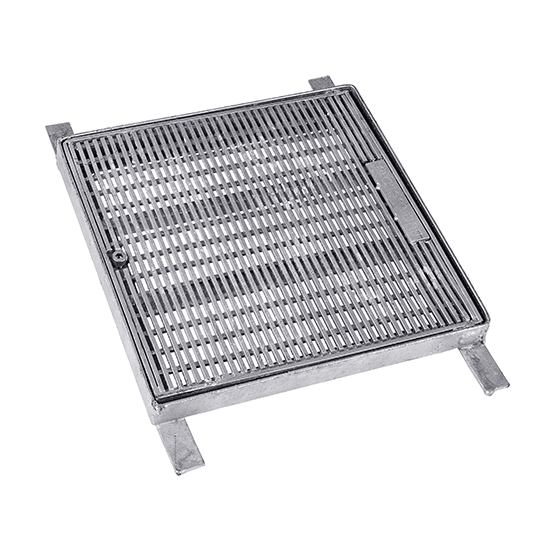
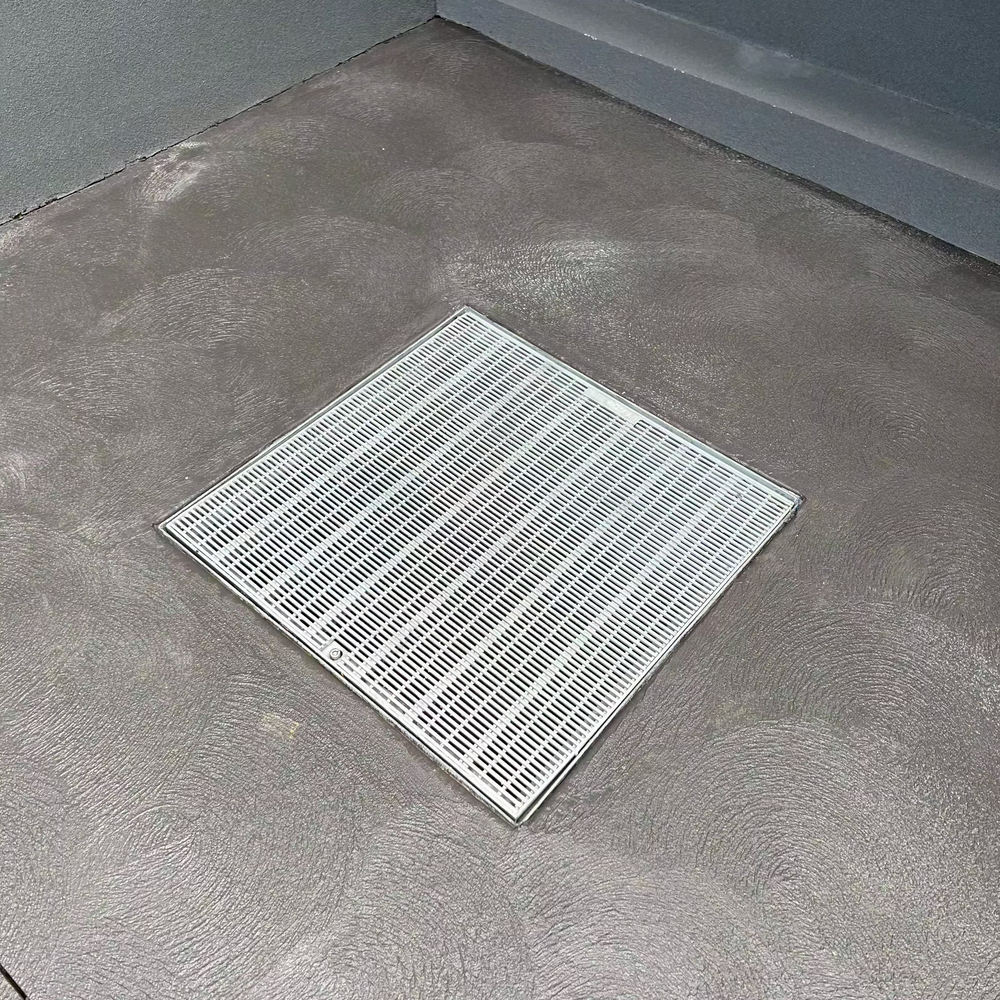
Floor Wastes: A single drain hole in the centre of the shower floor, square floor wastes are usually made of metal, plastic or tile and are often covered with a removable grille or strainer.
Grate Pattern Choices From Vincent Buda
The next decision after choosing your shower drain is the grate. While the superior option is Heelguard, we’ll cover the various options we offer.
Heelguard
Heelguard drain grates are called "Heelguard" because they are designed to prevent the heels of shoes from getting stuck in the grate. Now, we’re not expecting you to wear high-heeled shoes while you shower. So why choose Heelguard for your bathroom grate patterns? It looks great.
The unique design of the Heelguard grate features a series of narrow slots or perforations featuring linear bars welded together in a wedge wire style to provide a sleek and stylish look while ensuring the drain remains clear and free-flowing.
In addition to their practical benefits, Heelguard drain grates are also visually appealing, as they have a sleek, modern design that complements a wide range of architectural styles.
Other Grate Pattern Options
- Tile Insert: Offers a hidden look where the insert piece is filled with a tile, only allowing a gap around the perimeter of the drain to collect water and flow into the tray.

- Line Pattern: A rectangular slot hole pattern that provides a simplistic yet stylish look to any bathroom.

- Square Pattern: Feature small rectangular holes similar to the line pattern, maintaining a similarly contemporary look with an affordable price tag.

- Brick Pattern: Like Square Pattern Grates, Brick Pattern features similarly long rectangular slot holes but in a different configuration to our line pattern grates.

Regardless of the type of shower drain you encounter, it's crucial to ensure it is installed properly to prevent leaks or drainage issues. If you are experiencing any problems with your shower drain, it's best to contact a licensed plumber to help you diagnose and fix the issue.
But if you’re experienced enough to handle the installation, this guide will be the perfect companion for installing shower drains and grates from Vincent Buda & Co.
Exposing the Drainage Point
Ensure the shower or bathroom floor and work area are cleaned before installation. Another critical step is ensuring no dirt or filth enters the shower drain during assembly.
Start by peeling off the components and exposing the drainage point. You need to remove any existing materials, such as tiles or flooring, from where the drain will be located. Make sure the area is clean and free of any debris or residue.
Depending on the application, your drainage point will be a DN80 or DN50. DN refers to the nominal dimensions of the pipe, with the number referring to its outside diameter.
Drain Position
A linear shower drain can be fitted in four positions: wall mounted (one or three sides), floor mounted, or both (free in the floor or between two walls). You must install the model that is appropriate for the given place. Our drains are available with centred, end or custom outlet positions. Custom lengths for shower grates and drains are also available.
Drain Height
When choosing a shower drain for your project, remember the installation depth. Before installation, the height of the shower drain must be determined. To guarantee proper water drainage, you should set the tiles level, or about 1 mm higher than the top edge of the shower drain. When determining overall depth, you should also account for tile thickness, tile adhesive layer, and levelling layer.
Creating a Slope
Wherever the shower drain is located, it is crucial that the floor slope towards the channel to ensure that all water is drained. Water will gather and floods the bathroom if the slope towards the drain is insufficient or non-existent.
Leave enough room above the slope to allow enough space so your tiles can be glued slightly above the drain height. Any water penetrating the grout joints is collected above the waterproofing and carried into the outlet.
Connecting To The Outlet
Connect the (linear) shower drain to the drainage pipe first, and ensure that the drain pipe has enough slope. Slip the drain into the connector; no adhesive is required because the connector provides adequate sealing. To eliminate leaks, inspect the water tightness of the shower drain and connection to the local wastewater system.
Waterproofing
To waterproof a bathroom and shower per Australian Standards, apply a waterproofing barrier over the entire shower floor and up the walls to at least 150mm above the shower floor. This will help to prevent any water from penetrating the subfloor or walls and causing damage.
Install The Grate, Fill Joint Gap
Install the grate according to the manufacturer's instructions, ensuring it is securely fastened and aligned with the drain. Then, fill the joint gap between the grate and tiles using a flexible adhesive to allow for expansion and contraction.
Once the drain and grate are installed, test the system for leaks by filling the shower floor with water and checking for any signs of water leakage around the drain and grate.
By following these steps, you can ensure that the surface of your bathroom and shower is correctly prepared for installing a drain and grate and that the system is leak-free and functioning correctly.
High-Quality, Stylish Shower Drains & Grates From Vincent Buda
You can trust Buda to have suitable drainage accessories, like outlets and fittings, in stock and sent to your door. With 99% of our online products readily available anytime, orders placed before 12 pm will be packaged same-day for delivery.
Need extra assistance choosing the right drainage products for your project? Answer a few questions using our Grate Configurator, and we’ll find something from our range that best suits your requirements.
Serving builders and DIYers since 1957, you can trust the Buda for your next job. Shop online now to access external drainage solutions alongside high-quality structural steel and building supplies for various projects, big and small.