

How to Install a Linear Shower Drain: Step-by-Step Guide for Plumbers
A shower drain that leaks, pools, or sits proud of the tile line, is a callback that costs more to fix than the entire drain was worth. Getting the installation right the first time comes down to five things: position, fall, waterproofing integration, outlet connection, and grate height.
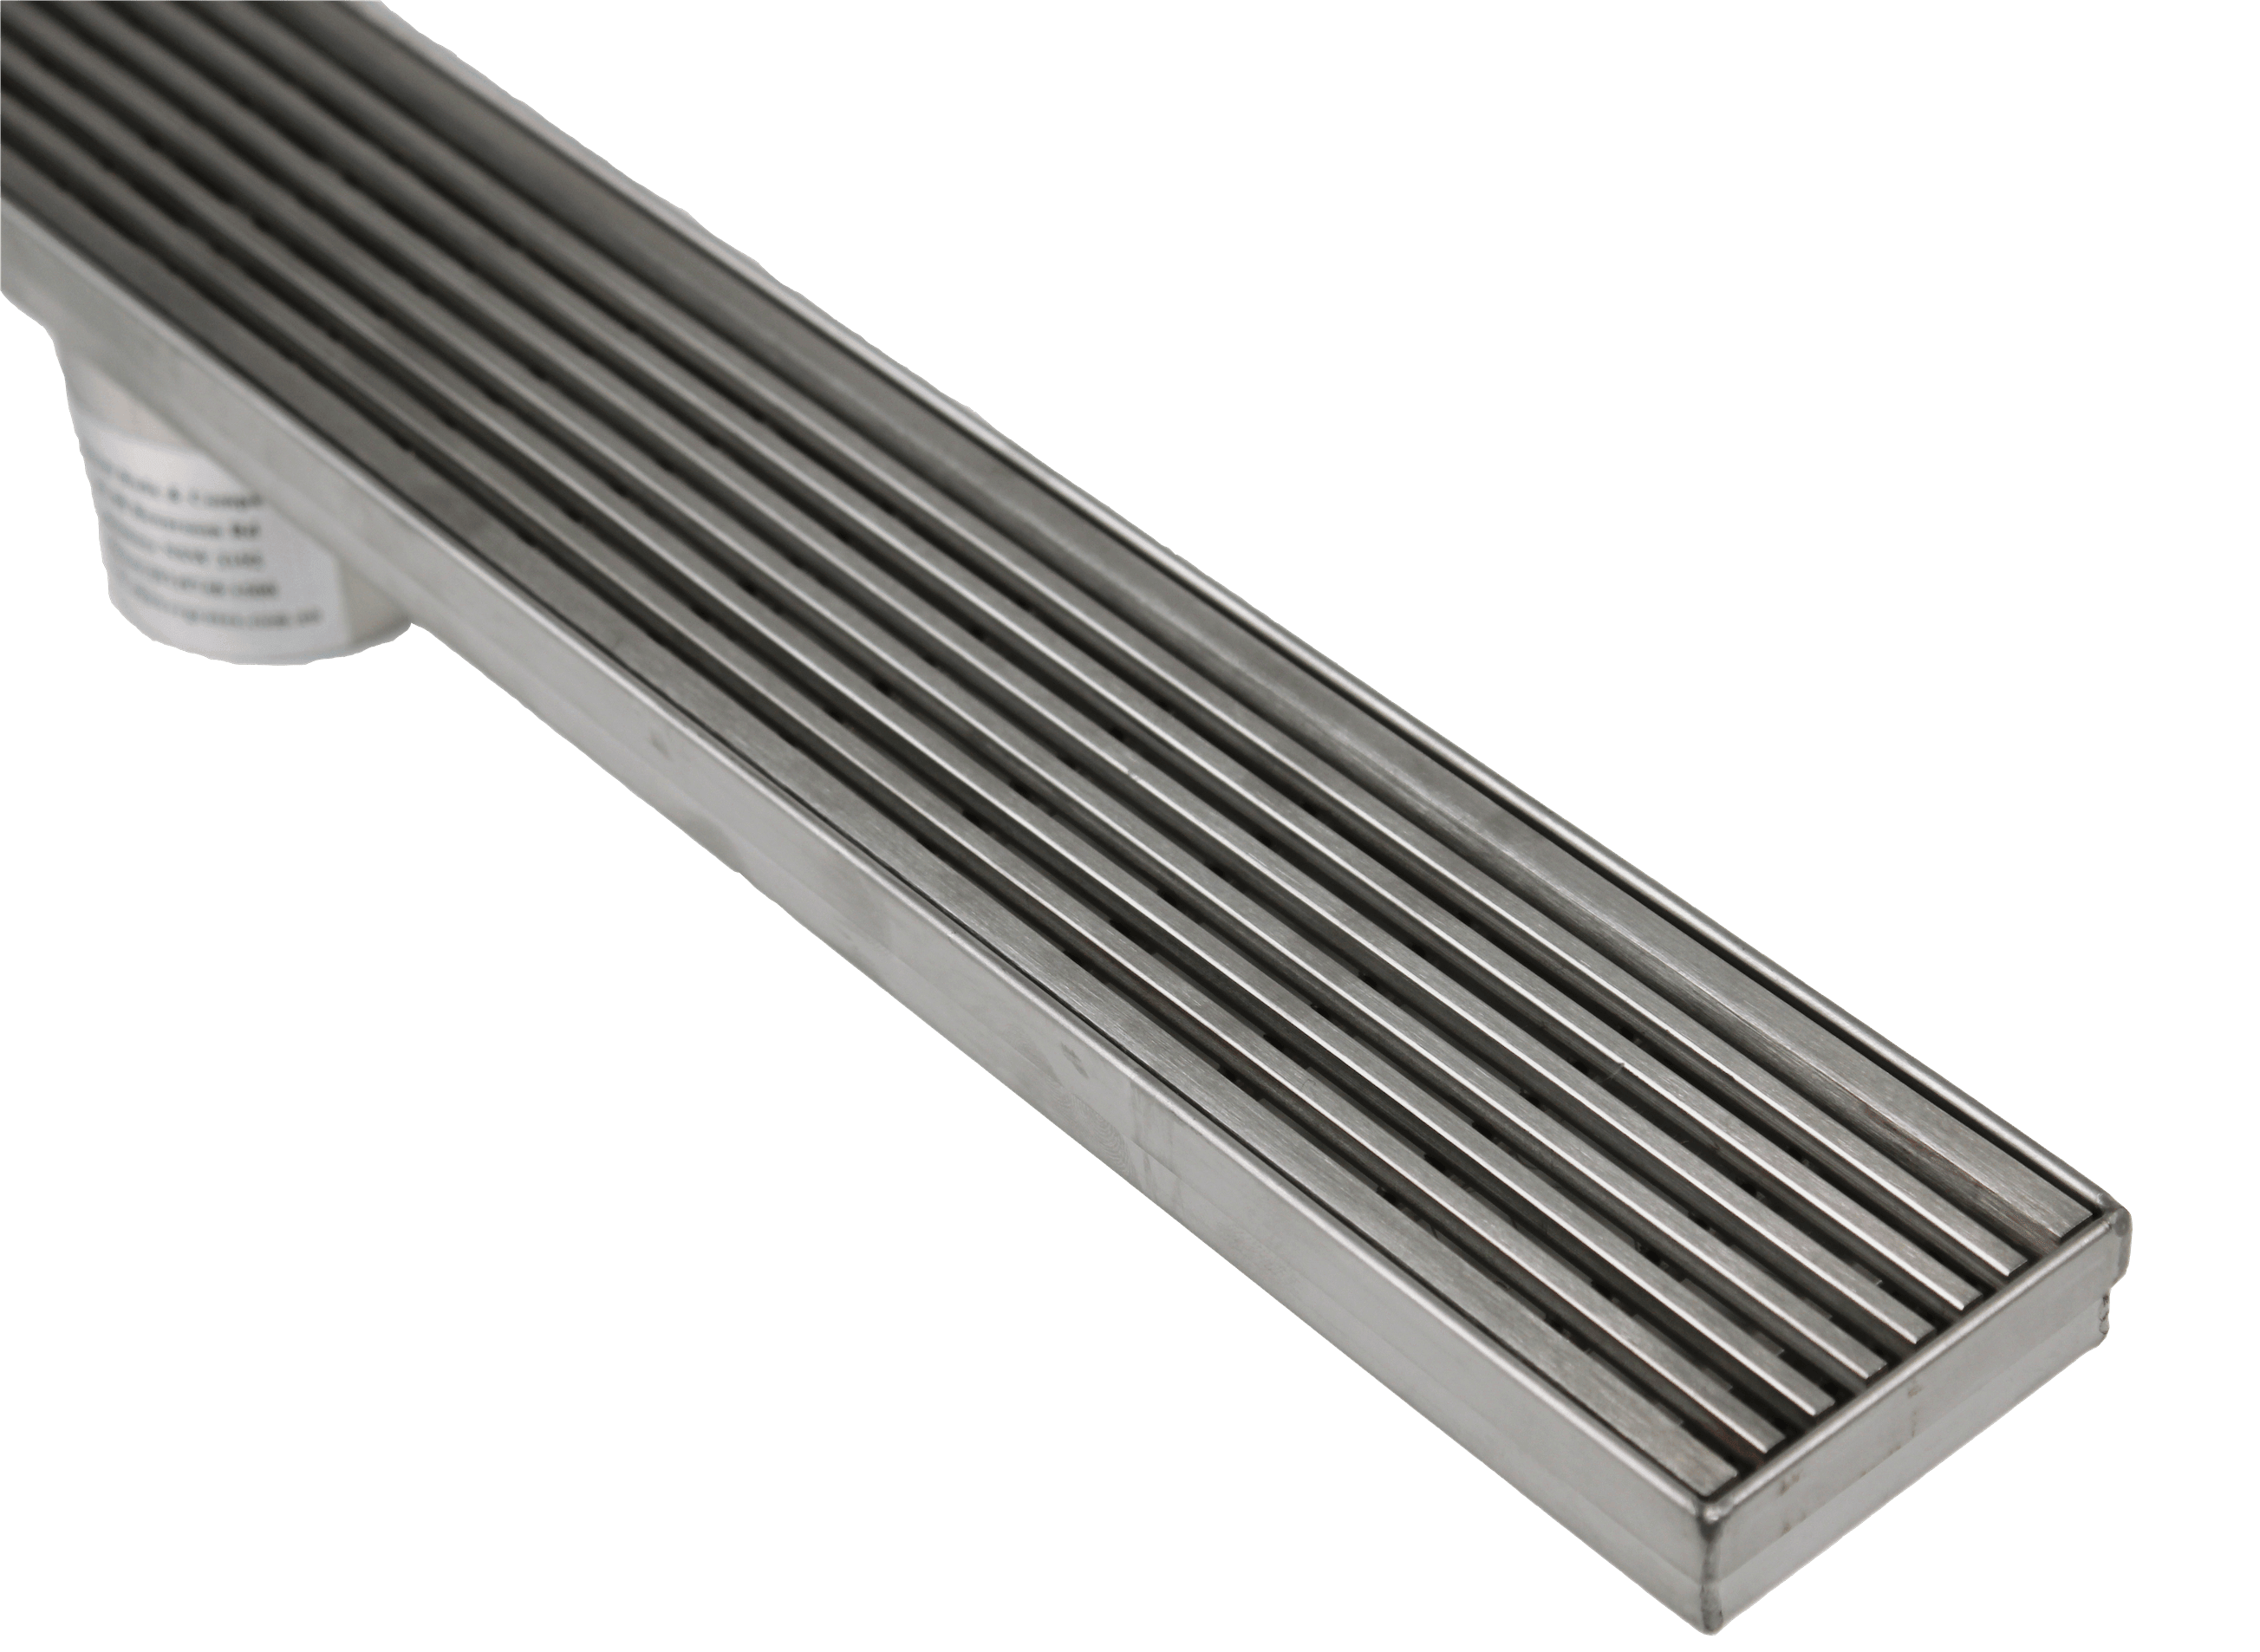
This guide covers the installation process for a linear shower drain in a tiled, waterproofed wet area — the type of installation found in the majority of walk-in shower projects across Australia.
Before You Start
Confirm these details before any work begins:
- Drain length: Ideally close to the full width of the shower
- Outlet position: Centre, end, or custom - must match the rough-in below
- Outlet size: 50 mm, 76 mm, or 95 mm - confirm against pipework
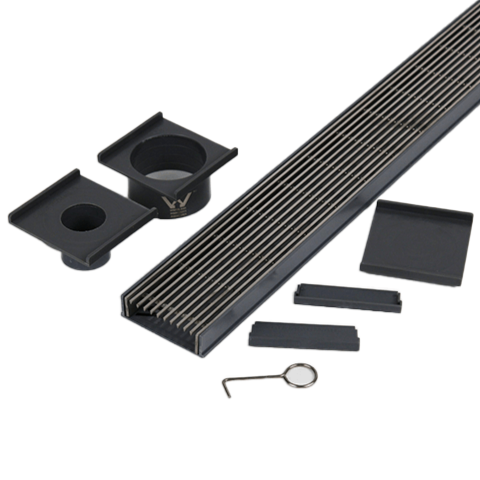
- Grate pattern: Tile insert, heelguard, or lines - confirm with the builder or client
- Waterproofing membrane compatibility: Check the membrane product is compatible with the drain body
Step-by-Step Installation
Step 1: Set the Rough-In
Position the waste pipe and outlet to align with the drain's outlet position. For a centre-outlet drain, the pipe must be at the midpoint of the planned drain run. For an end-outlet, the pipe sits at one end. Measure twice - a misaligned rough-in means rework after waterproofing.
Step 2: Level and Position the Drain Body
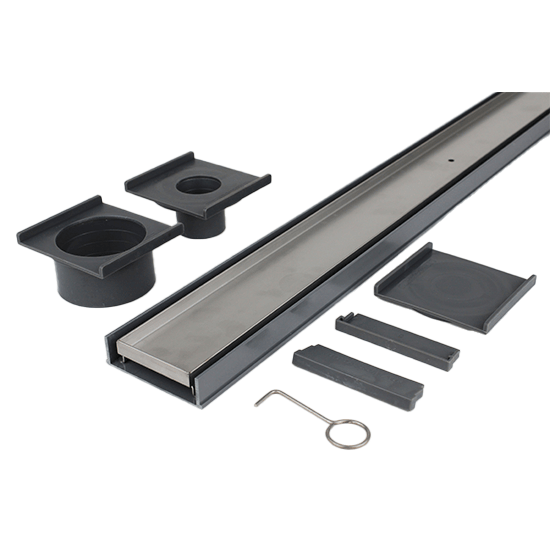
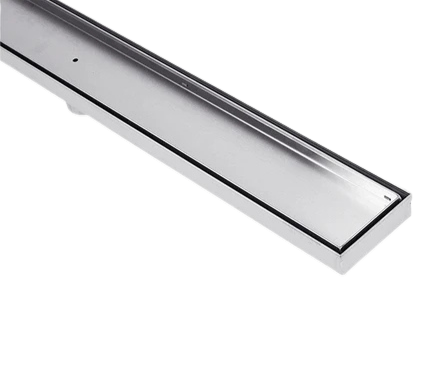
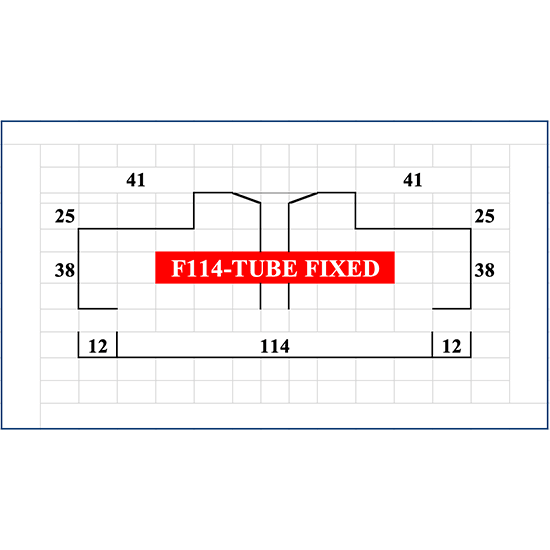
Set the channel into the screed at the correct height. The top of the drain body must sit at the finished tile height minus the grate thickness and any tile adhesive bed. This ensures the grate sits flush with the surrounding tiles.
Critical: The shower floor must fall toward the drain at a minimum of 1:100. A one-way fall (single plane toward the drain) is the advantage of a linear drain over a central floor waste.
Step 3: Connect the Outlet
Connect the drain outlet to the waste pipe using the appropriate fitting. Ensure a watertight connection - a leaking outlet defeats the entire system. Confirm the outlet pipe has adequate fall to the main drain.
Step 4: Waterproof
The waterproofing membrane must integrate with the drain body. Most linear drains have a flange or lip that the membrane bonds to, creating a continuous waterproof barrier from the floor surface into the drain channel.
Follow the membrane manufacturer's specifications exactly. Insufficient overlap or poor adhesion at the drain-to-membrane junction is the most common failure point in shower waterproofing.
Step 5: Screed and Tile
Once waterproofing is cured, the tiler screeds the shower floor to the required fall and tiles to the drain edge.
Step 6: Set the Grate
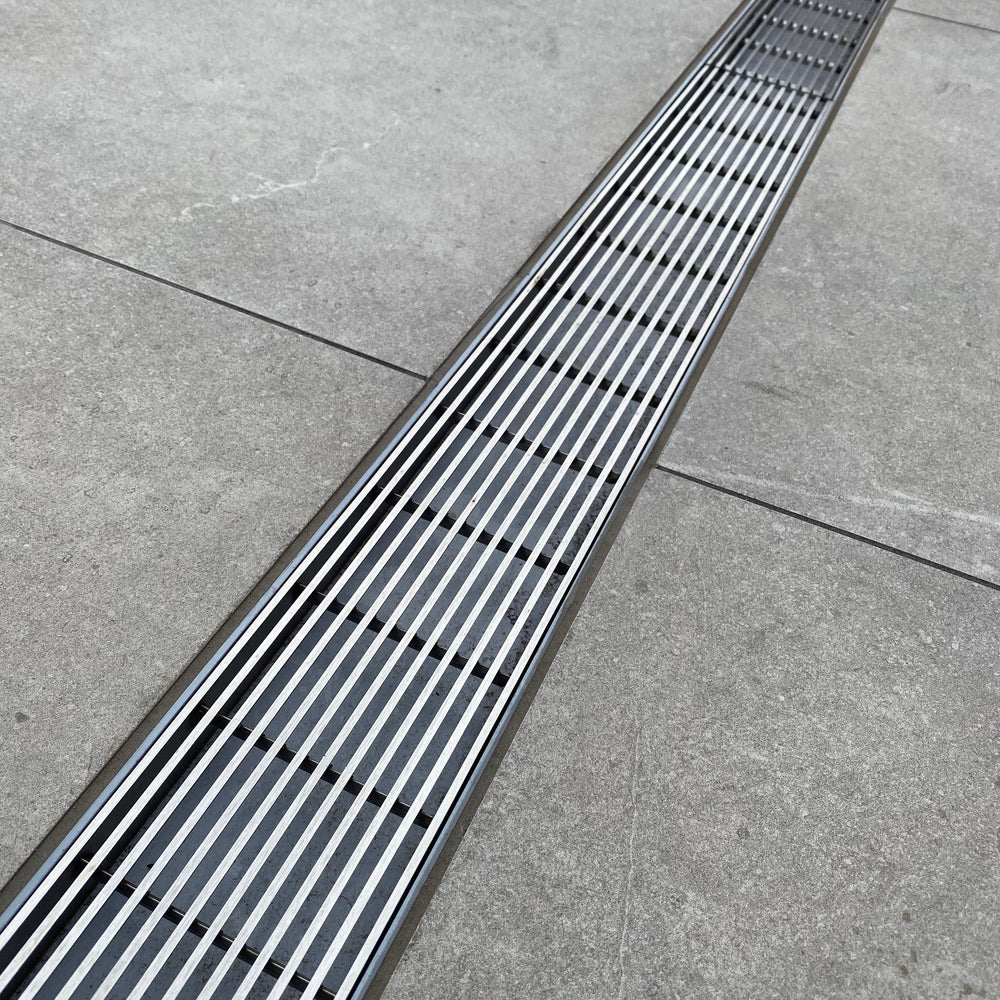
Drop or clip the grate into the drain body. The grate should sit flush with the surrounding tile surface - no lip, no recess.
Common Installation Mistakes
| Mistake | Consequence | Prevention |
|---|---|---|
| Outlet misaligned with rough-in | Rework after waterproofing | Confirm position before screed |
| Insufficient fall to drain | Water pooling in shower corners | Minimum 1:100 fall to drain |
| Grate sits above tile level | Trip hazard, visual defect | Set body height = tile level minus grate thickness |
| Waterproofing not bonded to drain flange | Leak at drain edge — the #1 failure point | Follow membrane specs, ensure full overlap |
| Wrong outlet size ordered | Doesn't connect to pipework | Confirm outlet size with plumber first |
Frequently Asked Questions
Q: What fall does the shower floor need?
Minimum 1:100 toward the linear drain.
Q: Can I reposition the outlet after waterproofing?
No. The outlet position must be finalised before waterproofing begins. For non-standard positions, Vincent Buda and Company offers custom outlet position drains.
Q: Do I need a strainer basket in the outlet?
Recommended. 316 stainless steel strainer baskets are available separately at Vincent Buda and Company in sizes to suit 50 mm, 76 mm, and 95 mm outlets.
Q: How quickly can I get shower drains?
Same day dispatch for Sydney Metro orders before 12 pm. Custom drains are built to order.
Shop Shower Drains
Shop Shower Drains → buda.com.au/collections/shower-drains
Custom Shower Drains → buda.com.au/products/custom-shower-grate
Trust the Buda Since 1957.