

How to Install a Linear Shower Drain: Step-by-Step Guide for Plumbers
Simply put - set the drain top 1 to 2 mm below the finished tile. Run the screed at 1:80 to 1:100 fall toward the drain. Dress the membrane down into the drain flange. Here’s the specifics:
What You'll Need
Materials:
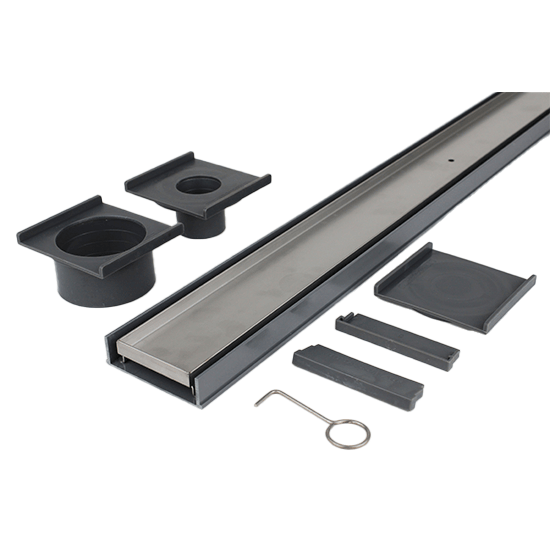
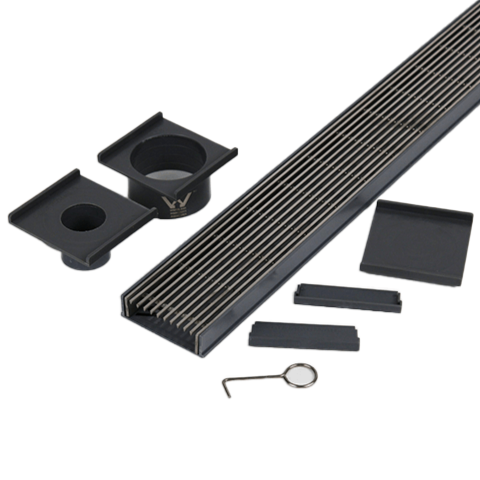
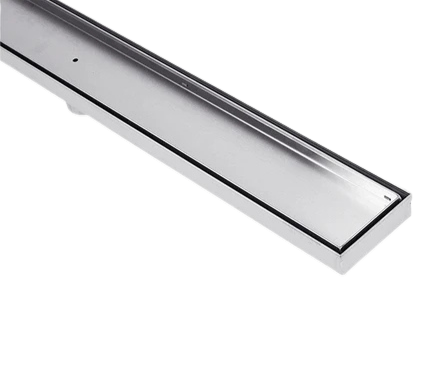
- Linear shower drain matched to the rough-in (for example, an 85 mm Heelguard with a 50 mm centre outlet for a 900 mm channel)
- Loose 50 mm or 76 mm stainless steel outlet for no-outlet drains
- Sand and cement screed mix
- Waterproofing membrane system
- Bond breaker tape and reinforcing fabric
- Wet-area tile adhesive
- Neutral cure silicone
Tools:
- Spirit level (long enough to span the shower width)
- Notched trowel and steel float
- Tile cutter or wet saw
- Hole saw (for no-outlet drains)
- Buda grate lifting tool
- Silicone gun
- Flood test plug
Step 1: Match the Outlet to the Rough-In
Confirm the rough-in pipe size and position before ordering. Position the drain so the outlet sits directly above the rough-in.
| Drain Width | Centre Outlet | End Outlet | No Outlet |
|---|---|---|---|
| 70 mm | 50 mm | n/a | 50 mm included |
| 85 mm | 50 mm | 50 mm | 50 mm or 76 mm |
| 100 mm 304 SS (up to 1500 mm) | 85 mm | n/a | 50 mm or 76 mm |
| 100 mm 316 SS (2000 to 3000 mm) | n/a | n/a | 50 mm or 76 mm |
| 100 mm Tile Insert | 50 mm | 50 mm | 50 mm or 76 mm |
If no stocked option fits, order a Custom Shower Grate with the outlet welded at 38, 50, 76, 83, or 95 mm. Lead time is 3 to 5 business days.
Step 2: Set the Fall in the Screed
Float the screed flat across the width, parallel to the drain. Run the fall across the depth at 1:80 minimum, 1:100 acceptable. Spirit-level the drain edge so no crowns form. For hobless walk-ins, carry the fall through the doorway.
Step 3: Bed the Drain at Tile Height
Calculate the bed height as finished tile thickness plus 3 to 5 mm adhesive bed. Set the drain top 1 to 2 mm below that height. Bed the body in a stiff sand-and-cement mix. Press the outlet onto the rough-in. Confirm dead-level along the full length before the mix sets.
Step 4: Waterproof and Dress the Membrane Into the Flange
Apply membrane per the manufacturer's data sheet and the project's wet-area standard. External showers require AS4654:2012 at minimum 1:100 fall. Lay bond breaker tape at every drain-to-substrate junction. Bed reinforcing fabric across the drain perimeter. Dress the membrane down into the drain flange so the flange seals the perimeter.
Step 5: Tile, Fit the Grate, and Flood Test
Tile to the drain edge with a 2 to 3 mm gap and fill with neutral cure silicone. For tile insert drains, cut the insert to the recess (100 mm Tile Insert: 90 mm by 18 mm max). Sit the grate flush with no rocking. Plug the outlet, fill to the lowest tile edge, and hold for 24 hours (or per the membrane data sheet). Hose the grate and confirm free flow from every point along the length.
Frequently Asked Questions
Q: How much fall does the shower floor need toward the drain?
1:80 to 1:100 toward the long edge. Linear drains only need fall in one direction, which is simpler to tile to than a central floor waste.
Q: Should the drain top sit level with the tile or below it?
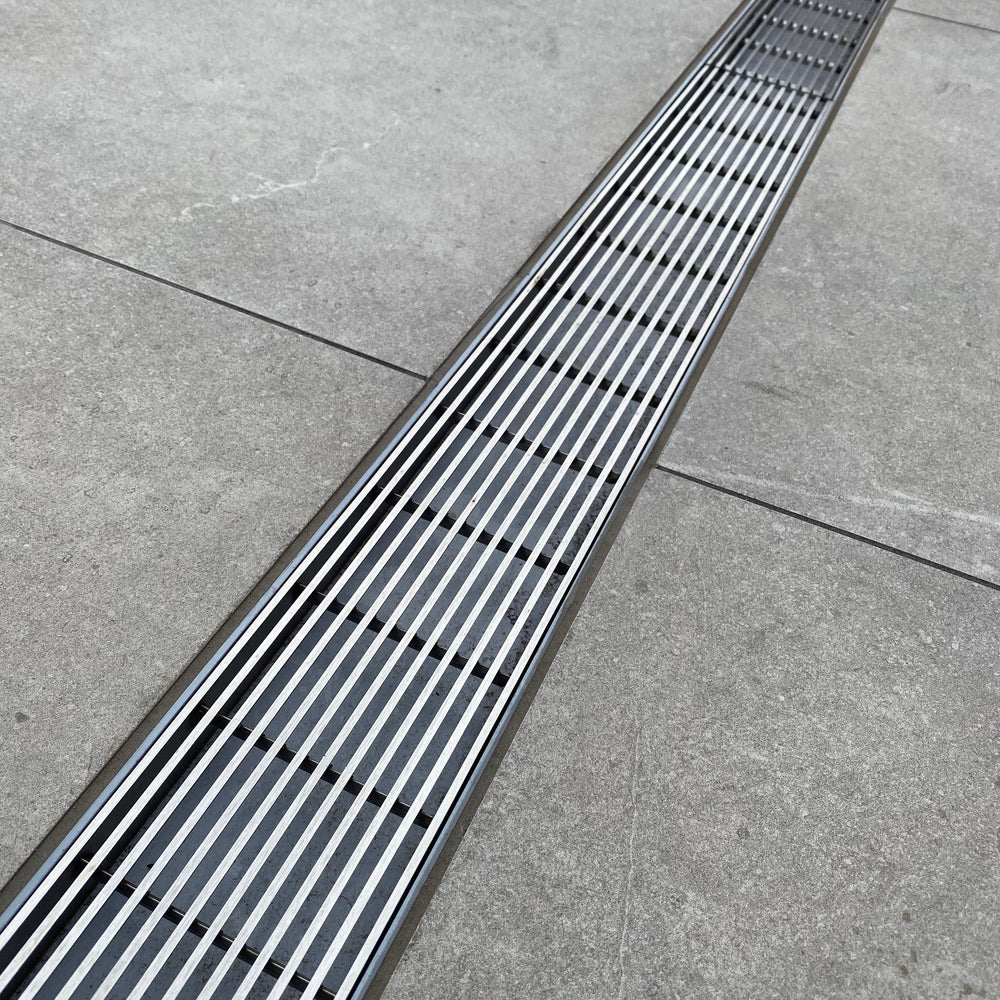
1 to 2 mm below the tile. Water sheets onto the grate at this height. Level or above leaves water pooling on the tile.
Q: Can I cut a stock drain down on site?
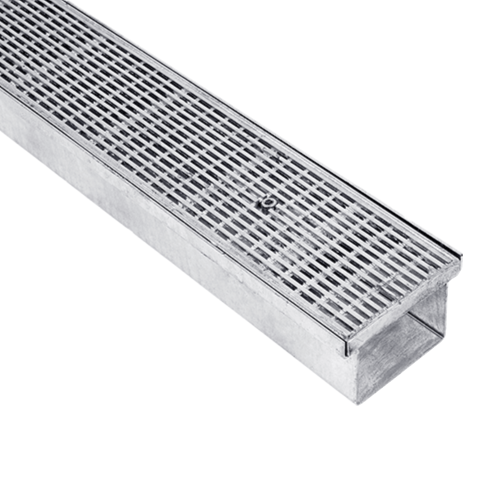
Yes for Heelguard and Tile Insert drains, capped with a Buda end cap matched to the channel size. Lines Pattern is not recommended because the pressed pattern may not cut evenly. For a factory finish, order a custom modification and Buda's fabrication team welds the end cap and outlet in position.
Shop Shower Drains
Shop Shower Drains: buda.com.au/collections/shower-drains
Trust the Buda Since 1957.